
Materials needed
pencil, butcher paper, two long pieces of foam board, one exacto knife, decorating materials (paint/brushes, magazines, etc.)
Procedure
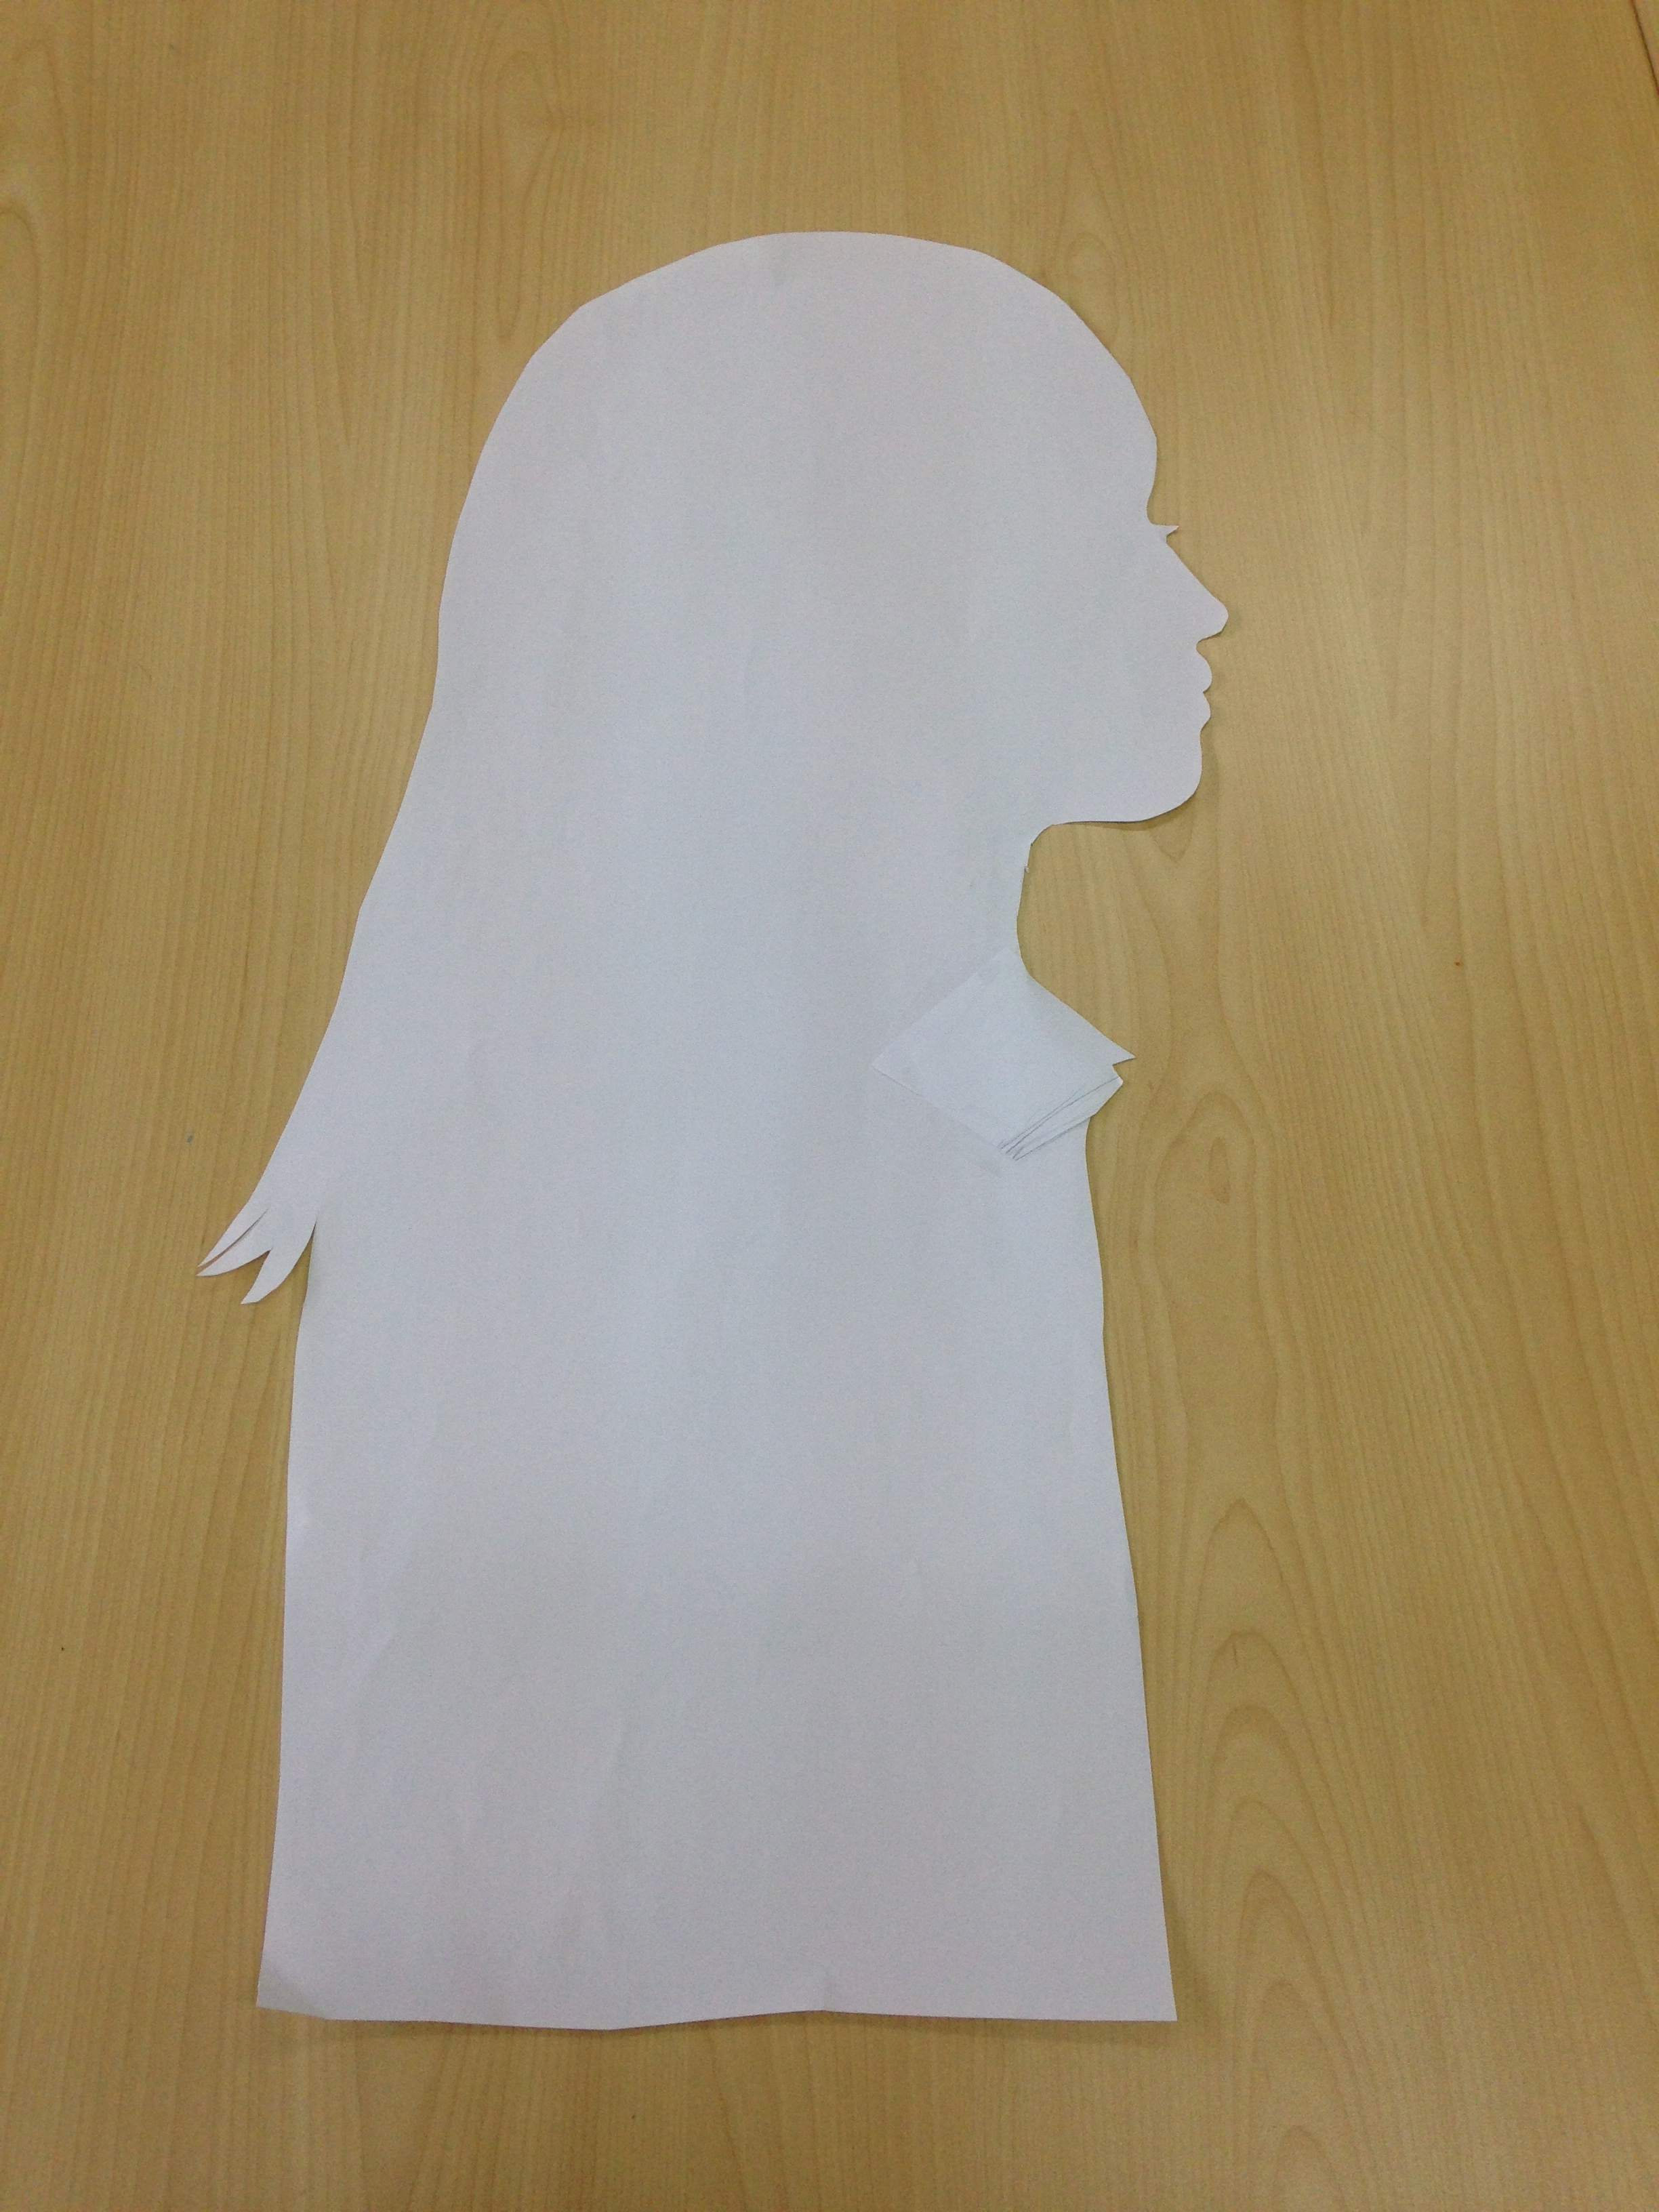
Step 1: Trace your silhouette onto white butcher paper. Use the overhead projector, while standing on a chair, and have your partner trace your silhouette. Focus on the top of the head down to your waist. Make sure to take your time while tracing because all features are what make you up.
Step 2: Carefully cut out your silhouette. Put your initials on the sheet of paper in case you run out of time.
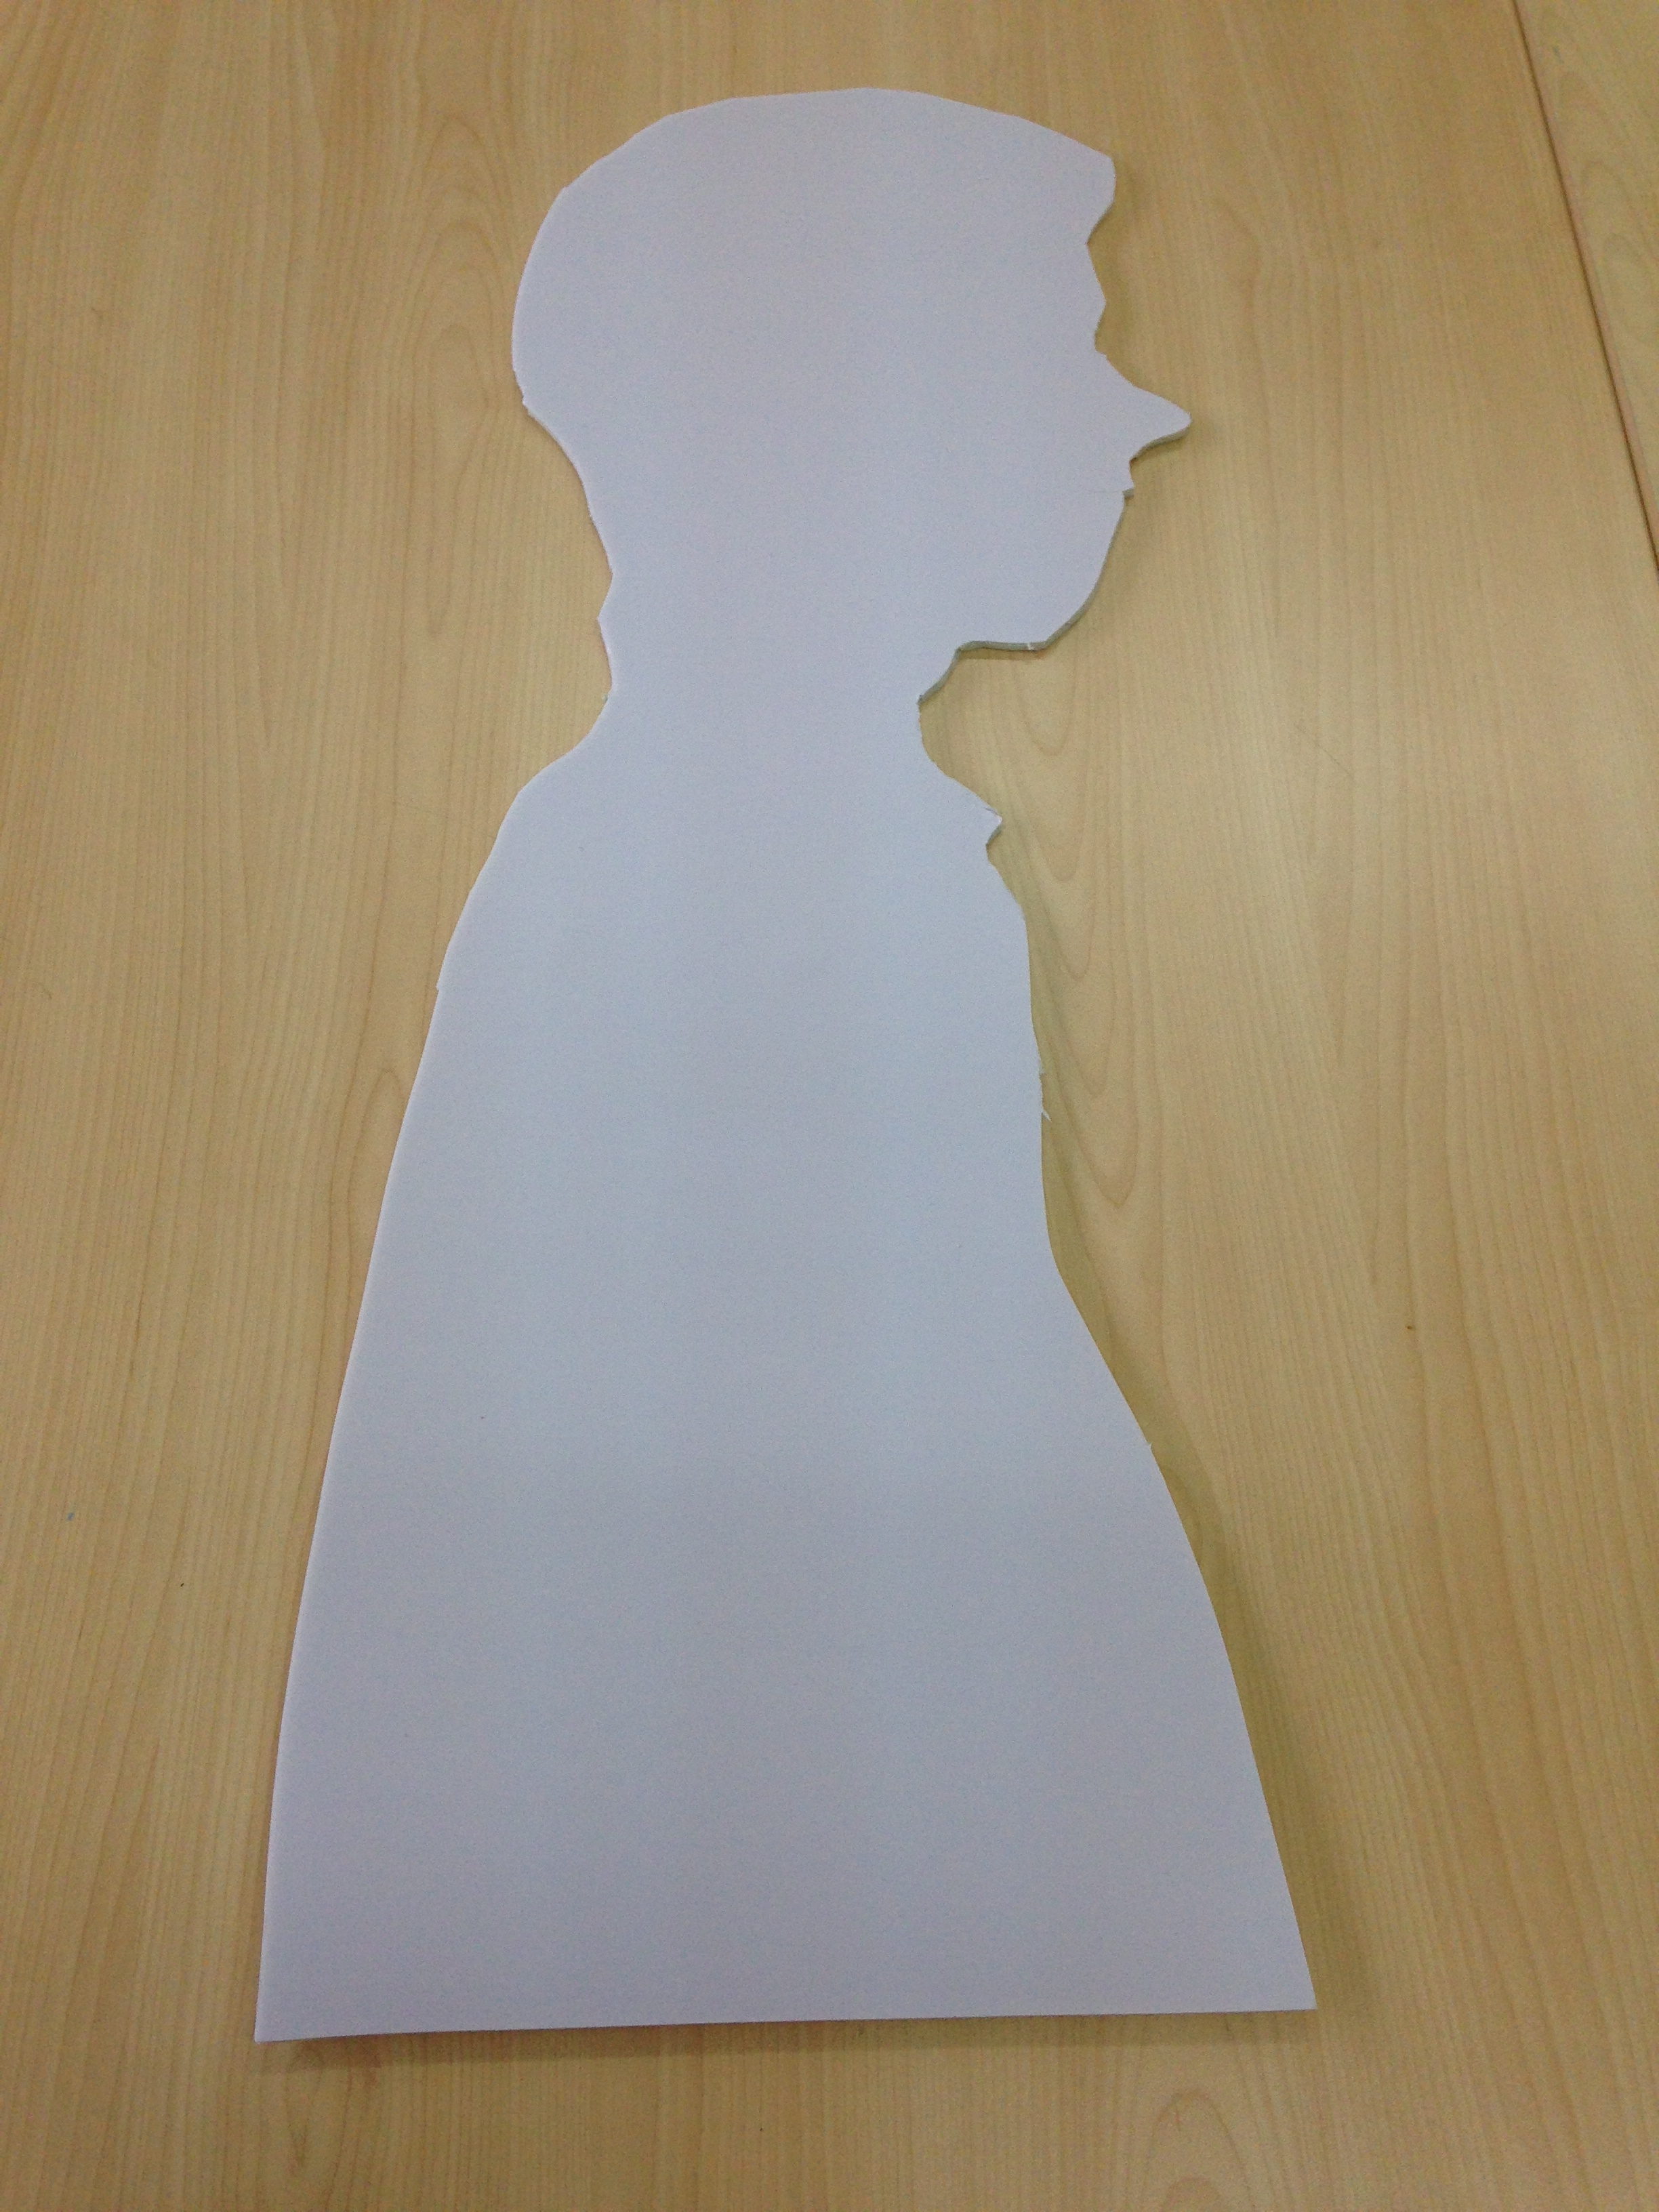
Step 3: Put your paper silhouette on top of the foam board and trace.
Step 4: Carefully cut the foam silhouette out using the exacto knife. The knives are very sharp so be careful. Write your initials on the foam board in case you run out of time in class.
Step 5: Repeat steps 3 and 4 as you will need two foam board silhouettes.
Step 6: Determine your design for each side of the silhouettes.
Step 7: After all sides of the silhouettes have been painted/decorated, cut one of the foam boards in half by either using a string to trace and cut or a tape measure.
Step 8: Tape the two sides of the cut foam board to the uncut silhouette. Packing tape may be the best option as it is strong and clear. Make sure everything is lined up and even.
Designing
Designing the silhouettes can be done in a multitude of ways. Below are some ways that this can be done.
Face 1 (front) – How people see me (physical).
Face 1 (back) – How I see myself (interests, character traits, items important to me)
Face 2 (front) – Strengths that you possess (this can be done by having a survey that is done by asking others about yourself)
Face 2 (back) – How I will use my strengths to better my world.
Illustrating/Decorating
Utilizing paint, magazines, pictures are just some ways that you can use to express your ideas about your identity.
